
what you need:
- a piece of denim clothing (I got my jacket at a thriftstore!)
- a sponge (I recommend using one you don't need anymore)
- rubber gloves to protect your hands
- bleach
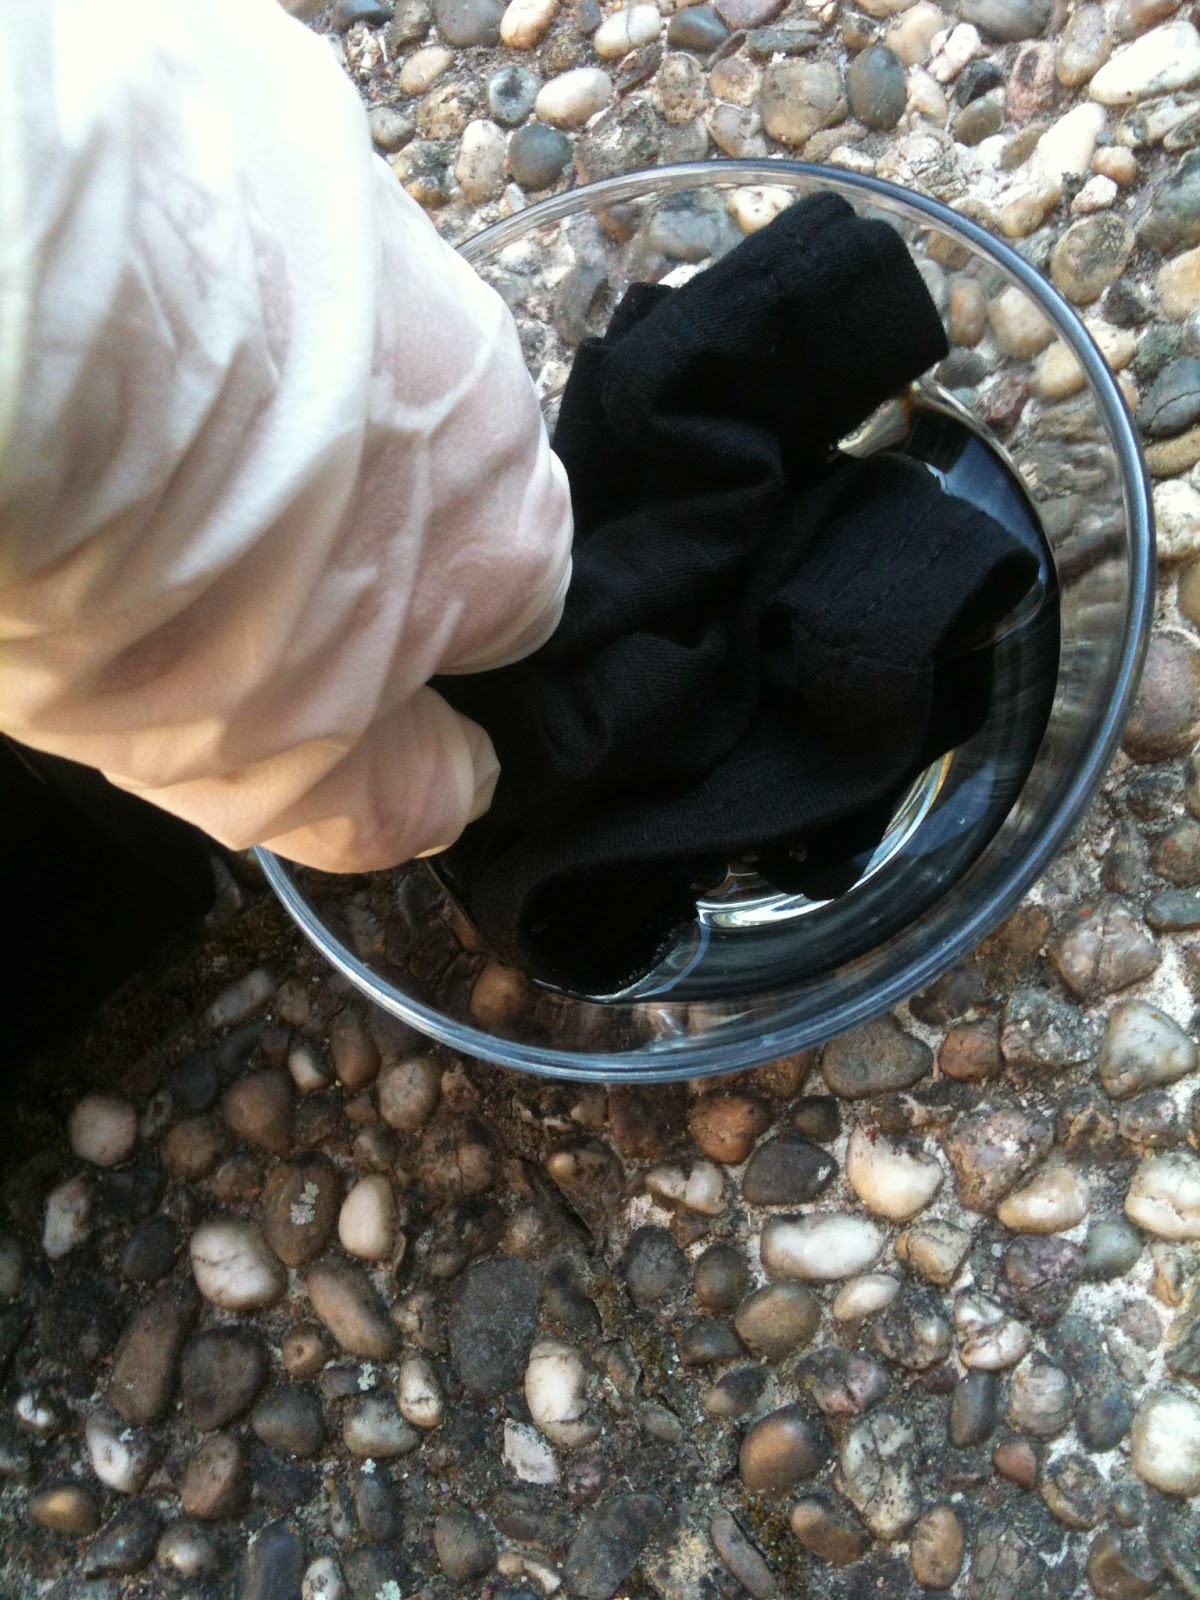
- a small bowl
- a plastic bag or something else to protect your working area
what you do:
- cover the working area
- spread your piece of clothing out in front of you
- fill some bleach into the bowl
- tip: in case you never used bleach before or you're not sure how light you want the denim to turn out, mix the bleach with a little water, this will slow down the bleaching process
- dip your sponge into the bleach and go over the denim with it
- you don't need to make it perfect, but try to spread it somewhat equally
- let the bleach sink in and do its work
- if you need to, you can go over the denim a couple more times, if you want the effect to be stronger
- I actually mixed 2/3 bleach and 1/3 water and went over the denim 3 times, my denim was kind of resistant to the bleach. that can happen!
- put your clothing in the washing machine (and dryer)
- voilà!

products I used:
Eau de Javel bleach


